How Long to Reverse Sear Steak: A Timing Plan
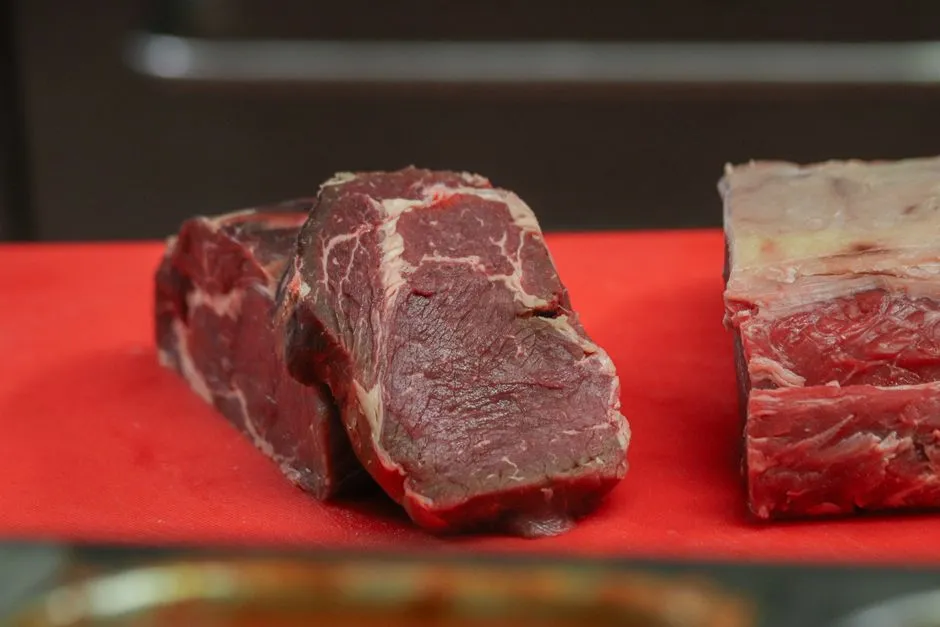
- How long does reverse searing steak take?
- What does a published timing estimate actually cover?
- Can you scale that time to another thickness?
- What belongs in your dinner schedule?
- How should you check the temperature?
- What if the steak is ahead of schedule?
- What if it is running late?
- Which safety limits must remain in the plan?
- Sources
How long does reverse searing steak take?
Reverse-sear timing depends on thickness, starting temperature, oven performance, and the endpoint being measured. Treat recipe minutes as planning estimates, not permission to serve. For an intact whole beef steak, measure at least 145°F (62.8°C) before final removal from heat, then rest at least 3 minutes. Move continuously from oven to sear; do not hold partially cooked steak for later. Follow package directions and equipment safety instructions.
The useful question is not just “How many minutes?” It is “How many minutes to which stage?” An oven-transfer reading, the final cooking reading, and the end of the safety rest are three different checkpoints. A calculator that merges them can produce a convincing dinner time without establishing that the steak is ready.
What does a published timing estimate actually cover?
Here is one specific benchmark, not a universal thickness chart. J. Kenji López-Alt's Serious Eats reverse-sear recipe lists approximately 35–40 minutes for a 1½-inch steak in a 250°F oven to reach 135°F, followed by searing. Its skillet instruction estimates about 45 seconds per side for browning.
Those are the source's estimates, not our test results. The 135°F checkpoint is an intermediate cooking stage, not a safe serving temperature. Continue cooking through the sear until the steak measures at least 145°F before final removal, then rest at least 3 minutes.
The recipe also contains lower culinary endpoints and says resting is unnecessary; this guide does not adopt those instructions. Our endpoint and required rest follow USDA's safe minimum temperature chart. Searing for a quoted number of seconds does not guarantee that minimum.
Can you scale that time to another thickness?
Not reliably by simple multiplication. Use the benchmark only within its stated scope, and keep an actual thermometer reading in control.
| Steak or setup | What to do with the benchmark |
|---|---|
| 1½-inch steak with the specified oven setting | Use it to organize preparation; check temperature before the estimated finish |
| Thinner steak | Do not divide the minutes proportionally; consider a method specifically written for that thickness |
| Thicker steak | Do not add a fixed number of minutes per extra inch |
| Different oven setting or cooking appliance | Treat it as a different setup, requiring its own monitored cook |
| Frozen or partly frozen center | Do not reuse a thawed-steak estimate |
The table deliberately does not assign unsupported minutes to every thickness band. An extra decimal place in a calculator is not extra evidence.
For planning, write down the cut and actual thickness rather than relying on package weight alone. Record whether the steak is fully thawed and refrigerator-cold. USDA's beef handling guidance identifies refrigerator thawing as a safe method and says never to thaw beef on the counter. Do not warm raw steak on the counter to make a timing estimate fit.
What belongs in your dinner schedule?
Divide the plan into tasks you can finish ahead and steps that depend on the steak.
Before cooking, read the package and recipe, prepare the thermometer, set out clean serving equipment, and organize the sides. Keep raw meat and juices separate from cooked foods, sauce, utensils, and serving plates. Wash hands and clean food-contact surfaces.
During cooking, keep a simple record:
- Oven-entry time and oven setting.
- Measured temperature at each check.
- Oven-to-sear transfer time.
- Final temperature before removal from heat.
- Start and completion of the required rest.
Do not write a serving time into the “final temperature” field. One is a plan; the other is a measurement. Our steak doneness guide explains the distinction between culinary labels and safe endpoints.
How should you check the temperature?
Use the thickest part of the steak, avoiding bone, fat, and gristle. For a thin piece, insert the probe from the side so its sensing area reaches the center. Follow the thermometer's instructions for insertion depth and reading time.
USDA's thermometer guidance also distinguishes devices intended to remain in cooking food from those used for spot checks. Do not leave an instant-read device in an oven unless its manufacturer specifically permits that use. Clean the probe according to its instructions between uses.
Check without reaching over hot fat, flames, or an active heating element. Follow the appliance, pan, and probe manuals, including heat limits and ventilation. Keep cooking attended and use appropriate heat protection. If the equipment cannot be used safely, do not improvise a hotter setup to recover lost time.
What if the steak is ahead of schedule?
Arrange the cooking sequence so the searing equipment is ready for the transfer, within the manufacturer's operating instructions. Do not remove partially cooked steak and leave it waiting while you finish unrelated tasks.
USDA warns against partially cooking beef, refrigerating it, and completing the cook later. Treat reverse searing as one continuous cooking session. If the steak progresses faster than expected, bring the remaining cooking steps forward and adjust the meal schedule.
Once the steak has reached at least 145°F before final removal and rested at least 3 minutes, serve it promptly. The safety rest is not a way to store dinner until guests arrive. For a substantial delay, use current safe holding or refrigeration guidance rather than leaving cooked steak on the counter.
What if it is running late?
Continue the monitored cook. Do not lower the required endpoint, skip the rest, or use a browned crust as proof that the center is ready. Avoid increasing heat beyond equipment limits.
Check that the probe is positioned correctly and that the oven is operating at the intended setting. Treat a changed setting or different pan as a new condition in your notes. Do not promise guests an exact revised finish based on one temperature reading.
Here is an illustrative arithmetic example, not a recommended cooking duration: if your own cooking record shows 42 minutes in the oven and 6 minutes completing the sear, the cooking stages totaled 48 minutes. Adding the minimum 3-minute rest gives 51 minutes. That sum excludes preparation and preheating, and it is valid for serving only after the required temperature was measured. It does not predict the next steak.
Which safety limits must remain in the plan?
This timing discussion concerns intact whole beef steaks. Ground beef requires 160°F (71.1°C). For mechanically tenderized beef, injected, or otherwise processed products, follow the package's cooking instructions rather than assuming this timing example applies. Ask a qualified health professional about individual dietary or health needs.
Follow USDA's leftover guidance: refrigerate leftovers promptly in shallow containers within 2 hours, or within 1 hour when the surrounding temperature exceeds 90°F. Keep the refrigerator at 40°F or below; use refrigerated cooked beef within 3–4 days and reheat leftovers to 165°F. Discard perishable food left out beyond those limits. They are not additional countertop waiting time to build into a recipe.
A useful timing record makes the next meal easier to organize without overriding the thermometer. Keep the measured endpoint, continuous cooking, clean equipment, and required rest fixed; let dinner's clock move when necessary. Find related methods in our steak technique section.
Sources
- USDA FSIS: Safe Minimum Internal Temperature Chart; Beef From Farm to Table; Food Thermometers, linked above.
- Serious Eats: Reverse-Seared Steak, by J. Kenji López-Alt. Used only for its explicitly scoped timing benchmark, not its lower-temperature serving or no-rest advice.